Delightful & Easy Vegetable Side Dishes: Roasted Carrots, Green Beans & Essential Blogger Tips
Every home cook cherishes those go-to recipes that effortlessly transform a meal from ordinary to extraordinary. Today, I’m thrilled to share a couple of my absolute favorite vegetable dishes that are not only incredibly easy to prepare but also bursting with flavor, making them perfect for any occasion, from a busy weeknight dinner to a festive holiday spread. Plus, stick around for a valuable blogging tip that will enhance your recipe sharing!
Classic Comfort: Ina Garten’s Roasted Carrots
One of these beloved dishes is a simple yet profoundly satisfying recipe for Roasted Carrots. I’ve made this countless times, and its consistent success stems from its sheer simplicity and the incredible depth of flavor that roasting imparts. You might recognize this recipe from The Barefoot Contessa Cookbook by the legendary Ina Garten. If you’re already a fan of roasted vegetables, you know the magic that happens in the oven – the natural sugars caramelize, creating a delightful sweetness and a subtly crisp texture that’s absolutely addictive.
My enthusiasm for roasted vegetables is well-documented, and for good reason. Roasting isn’t just a cooking method; it’s a flavor enhancer. It transforms humble root vegetables like carrots, bringing out their inherent sweetness and giving them a tender-crisp bite that boiling or steaming simply can’t achieve. This recipe is a testament to the power of high heat and quality ingredients, proving that sometimes, the simplest preparations yield the most extraordinary results. It’s an essential addition to any repertoire of easy vegetable side dishes.
Roasted Carrots Recipe
Recipe adapted from Ina Garten, The Barefoot Contessa Cookbook and Food Network
Ingredients:
- 12 medium carrots
- 3 tablespoons good quality olive oil
- 1 1/4 teaspoons kosher salt
- 1/2 teaspoon freshly ground black pepper
- 2 tablespoons minced fresh parsley
Instructions:
- Preheat your oven to a robust 425 degrees F (220 degrees C). This high temperature is key to achieving that perfect browning and tenderness.
- Prepare the carrots: Wash and peel the carrots. Then, slice them diagonally into 1 1/2-inch-thick pieces. Don’t be shy with the thickness; carrots tend to shrink a bit during roasting, and larger cuts ensure they remain substantial and satisfying.
- In a large bowl, combine the sliced carrots with the olive oil, kosher salt, and freshly ground black pepper. Toss everything together thoroughly, ensuring each carrot piece is evenly coated. This simple seasoning is all you need to let the natural flavor of the carrots shine.
- Spread the seasoned carrots in a single layer on a large baking sheet. Avoid overcrowding the pan, as this can steam the vegetables instead of roasting them. If necessary, use two baking sheets to ensure optimal caramelization.
- Roast in the preheated oven for 15-18 minutes, or until the carrots are beautifully browned around the edges and fork-tender in the center. Keep an eye on them, as oven temperatures can vary.
- Once roasted, transfer the carrots to a serving dish. Toss them with the minced fresh parsley, which adds a vibrant pop of color and a fresh herbaceous note. Taste and adjust seasoning if needed. Serve immediately and enjoy these naturally sweet and savory roasted carrots!
A Burst of Flavor: Bobby Flay’s Roasted Green Beans with Shallots and Almonds
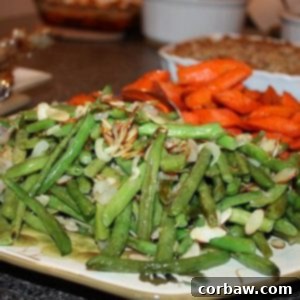
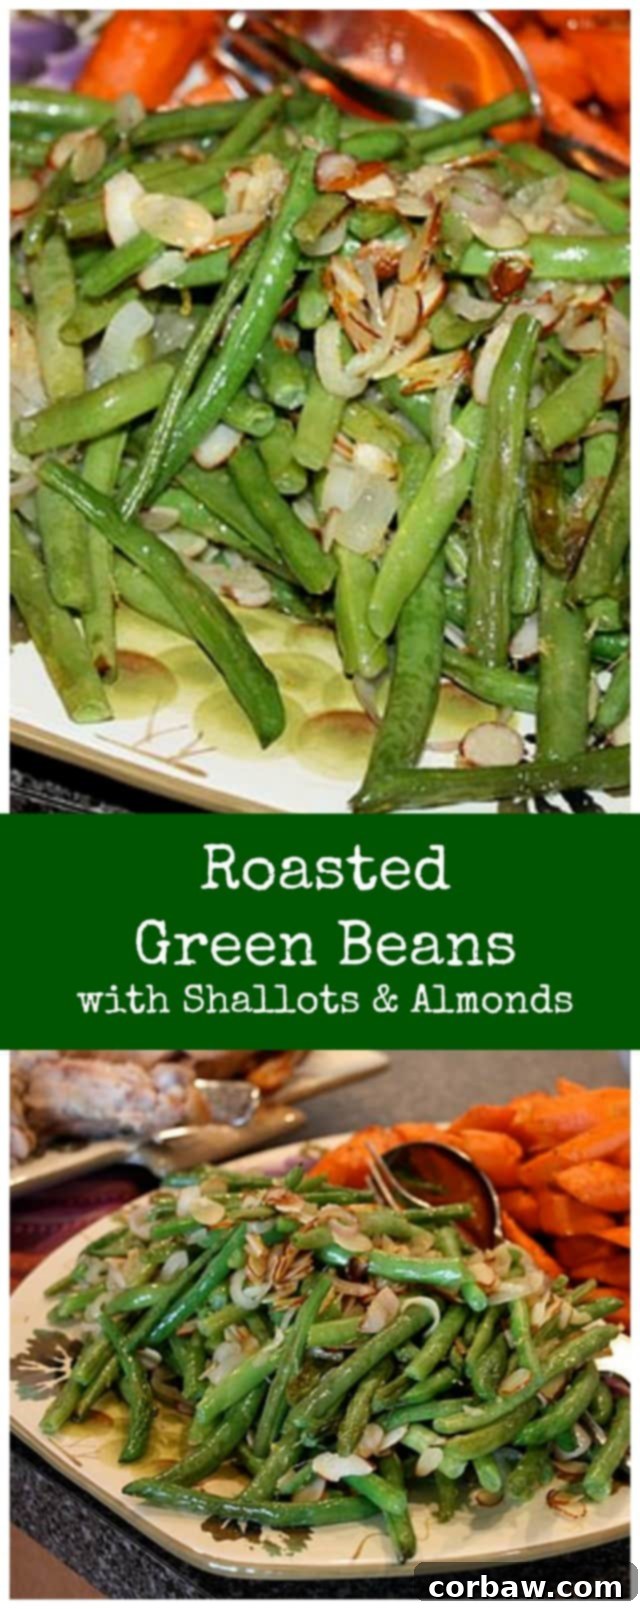
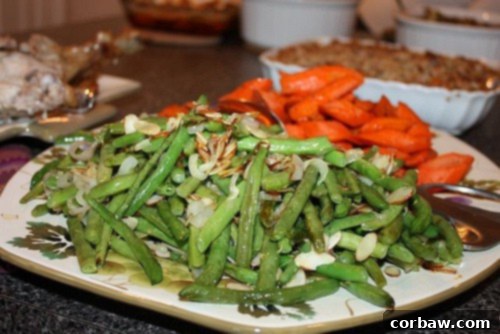
Now, let’s talk about my newest favorite veggie dish: Bobby Flay’s Roasted Green Beans with Shallots and Almonds. The original recipe calls for hazelnuts, but on an occasion when I couldn’t find them, I opted for sliced almonds, and they worked wonderfully, adding a fantastic nutty crunch. What truly captivated me about this dish wasn’t just its incredible ease or the delightful roasted texture, but the unexpected burst of flavor from the lemon zest. Paired with the toasted almonds, the lemon zest elevates the entire dish, providing a bright, tangy counterpoint that you might not anticipate.
The shallots, roasted alongside the green beans, become subtly sweet and slightly caramelized, infusing the beans with a delicate, aromatic onion flavor. This combination transforms everyday green beans into something truly special – a gourmet side dish that feels fancy but requires minimal effort. It’s an ideal choice for healthy side dishes and Thanksgiving vegetable recipes, offering a fresh take on a classic. If you’re looking for a simple yet elegant way to upgrade your vegetable game, these roasted green beans are an absolute must-try. I promise, you’ll love it!
Print Recipe
Roasted Green Beans with Shallots and Almonds

Ingredients:
- 1 pound fresh green beans, trimmed
- 3 tablespoons olive oil
- 4 medium shallots, thinly sliced
- Salt and freshly ground black pepper, to taste
- 1/4 cup sliced almonds, toasted (or hazelnuts, if preferred)
- 1 tablespoon finely chopped lemon zest
- 2 tablespoons chopped fresh parsley leaves
Directions:
- Preheat your oven to 425 degrees F (220 degrees C). As with the carrots, a hot oven is key for perfectly roasted, tender-crisp green beans.
- In a large baking dish or on a sheet pan, toss the trimmed green beans with the olive oil and thinly sliced shallots. Season generously with salt and freshly ground black pepper. Ensure the beans are coated evenly.
- Roast in the preheated oven for approximately 15 to 18 minutes, or until the green beans are just cooked through, tender-crisp, and have developed some golden-brown spots. The shallots will also become sweet and slightly caramelized during this time.
- While the green beans are roasting, prepare the topping. In a small bowl, combine the toasted sliced almonds (or hazelnuts), the vibrant lemon zest, and the fresh chopped parsley.
- Once the green beans are done, transfer them to a serving platter. Evenly sprinkle the almond-lemon-parsley mixture over the warm green beans. This topping adds texture, brightness, and an incredible aromatic finish. Serve immediately as a delightful and healthy side for any meal.
Recipe adapted from Bobby Flay, Food Network
Follow AggiesKitchen on Instagram and show us what recipes you are making from the blog! Use the hashtag #aggieskitchen – I’d love to see what you are cooking up!
Blogger Tip: How to Create Shareable Printable Recipe Links with Google Docs
Beyond delicious recipes, I also want to share a practical blogging tip that many of you have asked about: how to set up those convenient “Printable Recipe” links on your blog. It took me some time to figure this out, and I owe a huge debt of gratitude to my husband for introducing me to the power of Google Docs. For those unfamiliar, Wikipedia succinctly defines it:
Google Docs is a free, Web-based word processor, spreadsheet, presentation, and form application offered by Google. It allows users to create and edit documents online while collaborating in real-time with other users.
Pretty fancy, right? But more importantly, it’s incredibly practical for bloggers. Offering printable recipes is a fantastic way to enhance user experience, allowing your readers to easily save or print your recipes without all the extra blog content. This ensures they have a clean, focused version of the recipe at hand, which is especially appreciated by those who like to keep physical recipe binders or prefer not to navigate a screen while cooking.
To get started, the first step is to ensure you have a Google account. If you don’t already have one, signing up is quick and free. Once you have access, navigating to Google Docs is straightforward; you’ll typically find “Documents” listed at the top left corner of any Google page or under the “More” category. Here are the simple steps I follow to generate my Printable Recipe links for my blog posts:
- Create a New Document: From your Google Docs dashboard, click on the “New” button (usually a plus sign or a dropdown menu) and select “Document.” This will open a blank document for you to work with.
- Copy and Paste Your Recipe: Take the recipe text directly from your blog post and paste it into this new Google Doc. Now is your chance to edit and format it exactly how you’d like it to appear in its printable version. This often means removing any introductory text, images, or ads, focusing purely on the ingredients and instructions.
- Save Your Document: Google Docs automatically saves your work, but it’s good practice to give your document a clear, descriptive title (e.g., “Roasted Carrots Recipe Printable”).
- Publish as a Web Page: This is a crucial step. Go to the “File” menu, then hover over “Share,” and select “Publish to web.” In the pop-up window, click “Publish” to confirm. This makes your document accessible via a public URL.
- Get the Link to Share: After publishing, a link will be provided. Copy this link. This is the URL that your readers will use to access the clean, printable version of your recipe.
- Integrate into Your Blog Post: Finally, paste this copied link into your blog post, typically formatted as a “Printable Recipe” button or text link. This is where your readers will click to get their clean recipe file.
There you have it! It’s an efficient solution for offering a valuable feature to your readers. Blogging and website upkeep can sometimes feel like a never-ending learning curve, and I admit, it can occasionally strain my brain! However, discovering tools like Google Docs for simple solutions makes the journey incredibly rewarding.
I genuinely hope this blogger tip helps some of you streamline your content delivery and provides a better experience for your readers. Happy cooking and happy blogging!

