Mastering Almost Hands-Free Parmesan and Herb Risotto: A Simplified Culinary Adventure

In a world increasingly driven by digital convenience, it’s easy to fall into the habit of endless online recipe searches. A few weeks ago, my mom, a seasoned home cook, issued a challenge to her readers: put down the phones, close the browser tabs, and instead, delve into the treasure troves of cookbooks gathering dust on our shelves. Though my own cookbook collection is still growing, the wisdom of her words resonated deeply. I realized I was indeed neglecting the beautifully curated culinary guides I owned, preferring the instant gratification of a Google search. This challenge became an exciting opportunity to reconnect with the tangible joy of cooking from a physical book.
The perfect candidate for this challenge emerged from an unexpected win. Last year, at my mom’s lively annual cookie exchange, my salted caramel brownie cookies earned me the “Best Chocolate” category prize: the coveted cookbook, The Best of America’s Test Kitchen 2011. America’s Test Kitchen (ATK) is renowned for its meticulously tested and foolproof recipes, making it an ideal resource for expanding one’s culinary horizons. Little did I know, this prize would soon lead me to conquer a dish that had long intimidated me.
Inspired by my mom’s call to action, I eagerly pulled the ATK cookbook from my shelf and began tagging recipes that caught my eye. While many looked appealing, one particular title stood out: “Almost Hands-Free Risotto with Parmesan and Herbs.” Risotto has always held a certain mystique for me. I’ve read countless descriptions of its incredible creaminess, its luxurious texture, and its reputation as a chef’s challenge. Yet, the idea of making it myself always felt daunting. My cooking comfort zone typically involves familiar proteins and a wide array of desserts, but anything requiring constant, vigilant stirring for an extended period seemed well beyond my everyday repertoire.
The traditional image of a cook tethered to the stove, stirring continuously for 45 minutes to achieve that perfect risotto consistency, frankly, did not align with my preferred cooking style. It sounded like an intense commitment, leaving little room for multitasking or relaxation in the kitchen. This apprehension had prevented me from attempting risotto for years.
However, America’s Test Kitchen, in their infinite culinary wisdom, promised a simpler path. Their “almost hands-free” method dramatically reduces the active cooking time, putting me “on duty” only for the initial 15 minutes and the final 10. This innovative approach transformed a potentially stressful cooking session into a surprisingly manageable one. The newfound freedom even allowed me to multitask – I managed to roast a chicken (or, more accurately, heat up a pre-roasted one from Safeway that I grabbed on my way home from work, which is still a win in my book!). This simplified process was truly a game-changer for someone like me who loves delicious food but appreciates efficiency.
The Importance of Preparation: Mise en Place for Perfect Risotto
Given that even an “almost hands-free” recipe still requires your attention at crucial stages, I embraced the professional chef’s secret: mise en place. This French term, meaning “everything in its place,” is fundamental for smooth cooking. Before I even thought about turning on the stove, I meticulously prepared every ingredient. This involved finely mincing the onion and garlic, carefully measuring the Arborio rice, grating the Parmesan cheese, and having all the herbs ready to go. This upfront investment of time ensures a stress-free cooking experience, allowing you to focus on the process without frantic chopping or searching for ingredients mid-recipe.
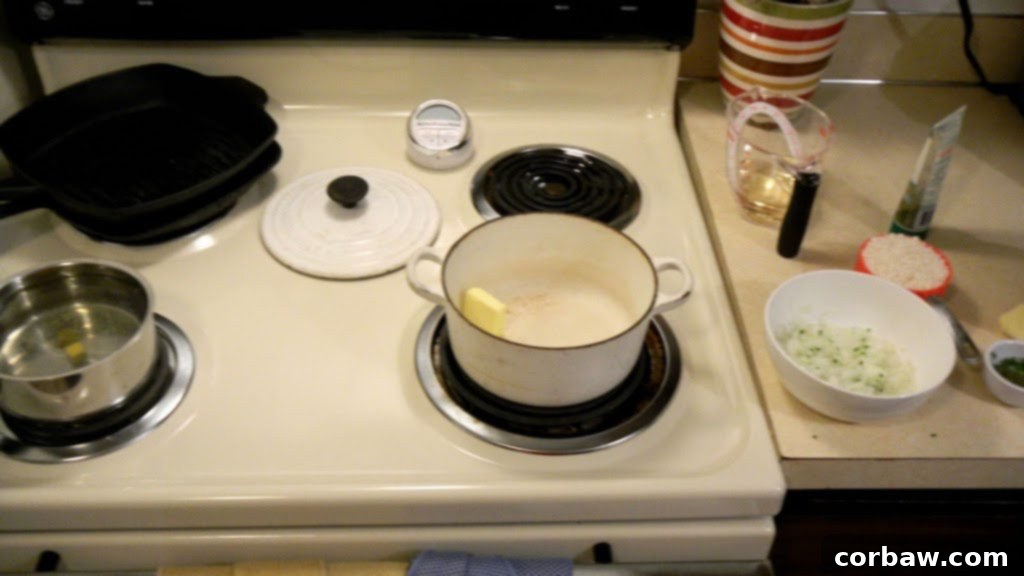
Building the Flavor Foundation: Step-by-Step Cooking
1. Preparing the Broth
When making risotto, having hot liquid at the ready is absolutely non-negotiable. This prevents the cooking rice from cooling down each time broth is added, which can interrupt the starch release and affect the final creamy texture. In a small saucepan, I brought the chicken broth (or bouillon and water, as per my substitution) to a boil, then reduced the heat to medium-low to maintain a gentle simmer throughout the cooking process. This constant warmth is key to a smooth and consistent risotto.
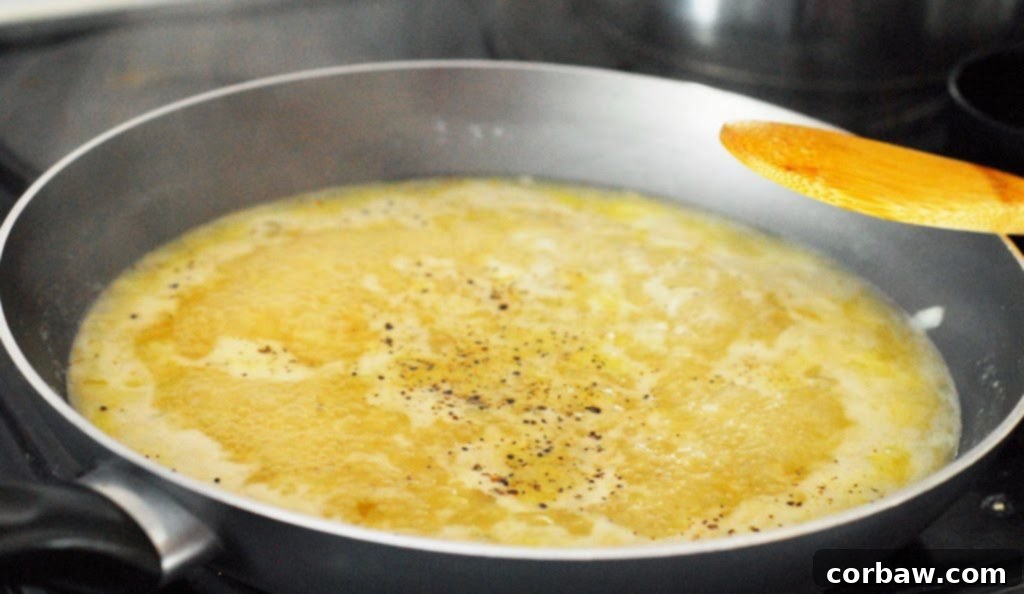
2. Sautéing Aromatics
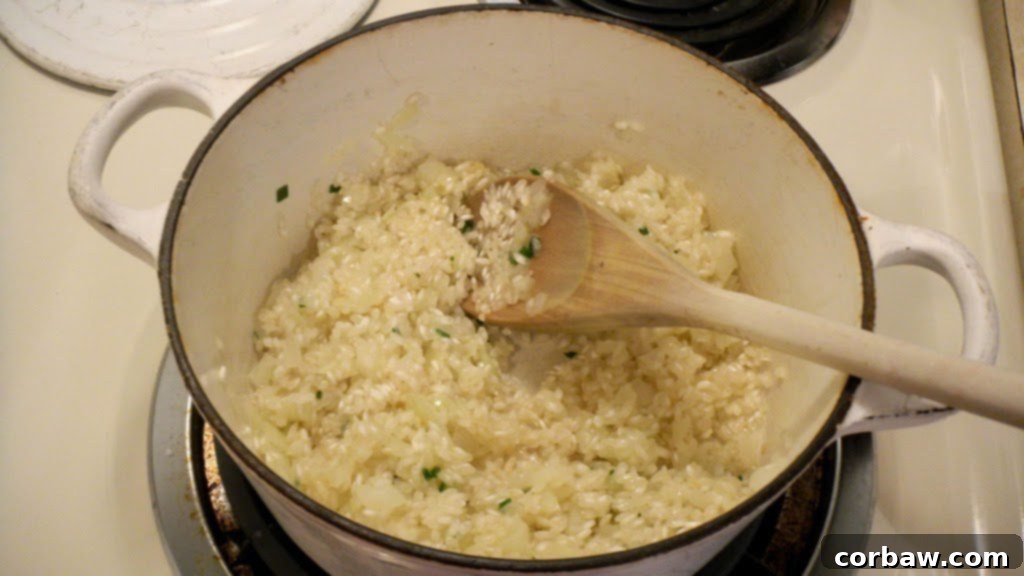
The foundation of any great risotto begins with its aromatics. In a sturdy Dutch oven (a heavy-bottomed pot is crucial for even heat distribution), I melted a generous amount of butter over medium heat. Once shimmering, I added the minced onion and a pinch of salt. Cooking the onion until it softens but doesn’t brown, typically takes about 4 to 7 minutes, allows it to release its sweet flavors without becoming bitter. You might notice some tiny green specks in the picture below – a testament to my enthusiasm for chopping! I inadvertently combined the chives and onions too soon, but tried my best to pick most of them out. Honestly, few things smell as comforting and inviting as onions gently caramelizing in butter.
Next, the minced garlic joined the party. It only needs about 30 seconds of cooking until it becomes wonderfully fragrant, taking care not to let it brown, which can make it taste bitter. Following the garlic, the star of the show, Arborio rice, was added to the pot. I cooked the rice, stirring frequently, until the grains became translucent around the edges, which usually takes about 3 minutes. This crucial step, known as ‘tostatura,’ lightly toasts the exterior of the rice grains, helping them maintain their structure and preventing them from becoming mushy during the long simmer, while still allowing the starch to release from the core.
3. The “Almost Hands-Free” Magic
Now, the real cooking begins, and with it, the “almost hands-free” magic of America’s Test Kitchen’s method. I poured in a cup of dry white wine – a step I particularly enjoy, as the aroma alone is delightful. The wine is cooked, stirring constantly, until it’s fully absorbed by the rice, a process that usually takes 2 to 3 minutes. This deglazes the pot and adds a layer of acidity and depth to the risotto.
After the wine has been absorbed, the truly revolutionary part of this recipe comes into play. I stirred in the majority of the hot chicken broth (5 cups, specifically), making sure the rice was well submerged. Then, I reduced the heat to medium-low, covered the Dutch oven, and let it simmer. This is where you get to walk away! You are no longer tethered to the stove, stirring incessantly. For the next 16 to 19 minutes, the risotto cooks gently, absorbing the liquid and transforming the rice into a creamy base, largely on its own. The only requirement? A quick, thorough stir just twice during this period to prevent sticking and ensure even cooking. This hands-off interval gave me time to attend to other tasks, like tending to that “roasting” chicken, making the entire dinner preparation remarkably efficient.
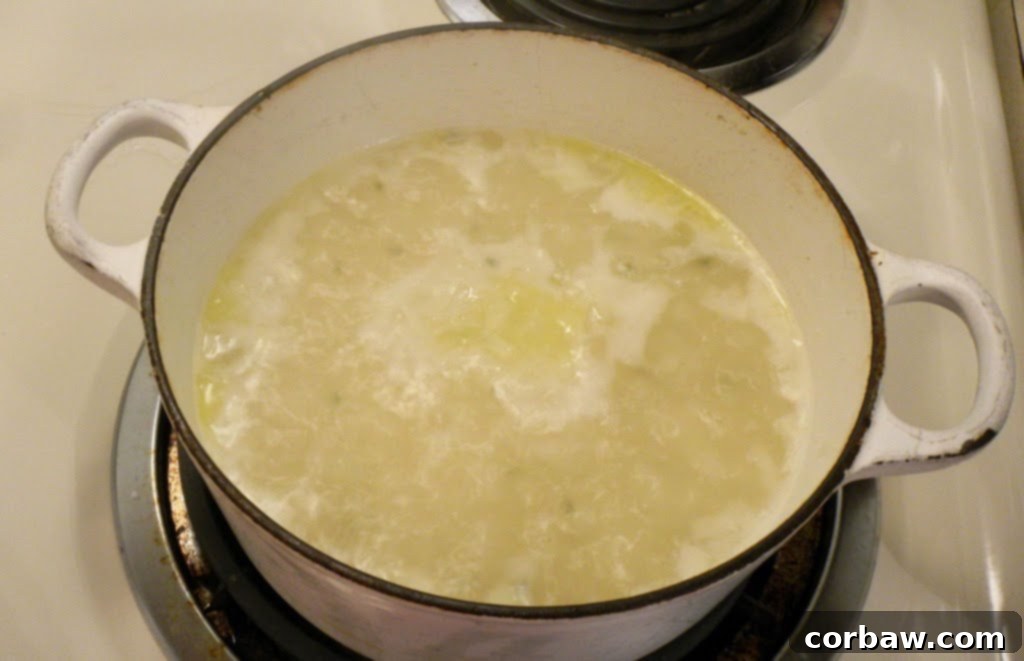
4. Achieving Creaminess and Finishing Touches
Once the 15-minute simmering period was over, most of the liquid had been absorbed, and the rice was just al dente – tender but with a slight bite in the center. At this point, I added the remaining ¾ cup of hot broth and returned to the constant stirring. This final, focused stirring is crucial for coaxing the remaining starch from the rice grains, creating that signature, incredibly creamy texture risotto is famous for. This active stirring phase lasts about 3 minutes, during which you can visibly watch the risotto transform into a rich, velvety consistency.
After achieving the desired creaminess, I stirred in the freshly grated Parmesan cheese. Immediately, I removed the pot from the heat, covered it, and let it stand for 5 minutes. This resting period allows the flavors to meld and the risotto to settle. Finally, for a truly decadent finish, I stirred in the remaining two tablespoons of butter, a teaspoon of fresh lemon juice, the “Garden Fresh Italian Herbs” (my chosen substitution for fresh parsley), and the chopped chives. A final seasoning with salt and pepper to taste completed the dish. If the risotto felt a little too thick, a splash of the remaining broth could be added to achieve the perfect desired consistency. The result was a luscious, aromatic, and perfectly balanced risotto.
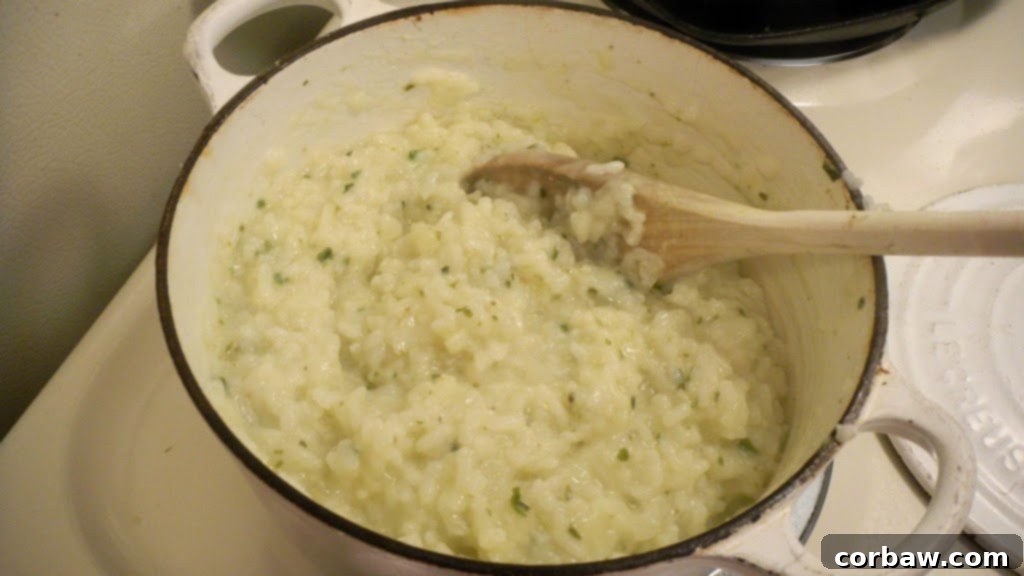
The final step, of course, is to stir it all up until everything is beautifully combined and then, if you’re anything like me, eat the entire Dutch oven full of creamy, herbaceous goodness. The satisfaction of creating such a sophisticated dish with a relatively hands-off method was immense.
The Verdict: A Dish Deserving of Appreciation
This risotto was a revelation. Its rich, savory flavor profile, enhanced by the fresh herbs and a hint of bright lemon, was truly exceptional. The texture was exactly as promised: wonderfully creamy and luxurious, a testament to America’s Test Kitchen’s masterful recipe development. It’s the kind of dish that elevates a weeknight meal into a special occasion.
My only caution? Perhaps don’t offer a bite to a boyfriend who might casually remark, “I don’t like the lemon very much and it doesn’t taste that much different from boxed rice.” If you do, prepare to deliver a stern, yet loving, lecture on the profound difference between a carefully crafted, scratch-made risotto and a pre-packaged imitation. The sheer effort, the quality of ingredients, and the nuanced flavors involved in making true risotto deserve nothing less than full appreciation.
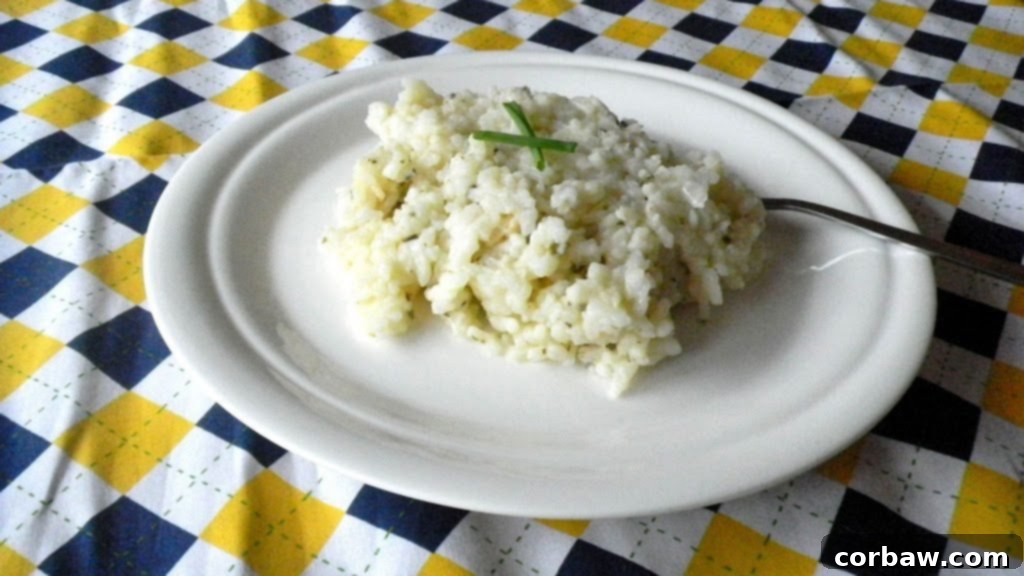
So, perhaps it’s best to keep this culinary masterpiece all to yourself, or share it only with those who truly understand and appreciate the beauty of a well-made risotto. Because it genuinely deserves to be savored and celebrated.

Adapted from The Best of America’s Test Kitchen 2011 (original online recipe available here for members)
Notes from the Cook:
My adjustments to the original recipe primarily stemmed from ingredient availability and are noted in italics below the original ingredients. I halved this recipe, which generously yielded enough for two people for dinner, plus ample leftovers for lunch for three additional days – a testament to its satisfying richness. A minor challenge I encountered was rice occasionally sticking to the bottom of the Dutch oven during the hands-free simmering phase, so I highly recommend giving it a good, thorough stir each time you check on it. This recipe is also wonderfully versatile, and America’s Test Kitchen provides variations such as chicken and herb risotto, or saffron risotto with chicken and peas, offering even more ways to enjoy this classic dish.
Ingredients
5 cups low-sodium chicken broth
(For my version, I substituted this with chicken bouillon and water)
1 1/2 cups water
4 tablespoons unsalted butter
(I used salted butter, adjusting other salt additions slightly)
1 large onion, minced
Salt
1 large garlic clove, minced
2 cups Arborio rice
1 cup dry white wine
2 ounces Parmesan cheese, freshly grated (this typically yields about 1 cup)
2 tablespoons fresh parsley, chopped
(I used a blend of “Garden Fresh Italian Herbs” for convenience)
2 tablespoons chopped fresh chives
1 teaspoon fresh lemon juice
Freshly ground black pepper to taste
Directions
-
1. Combine the chicken broth and water in a large saucepan and bring to a boil over high heat. Once boiling, reduce the heat to medium-low to maintain a gentle simmer. Keep this liquid hot throughout the cooking process.
-
2. In a large Dutch oven or heavy-bottomed pot, melt 2 tablespoons of butter over medium heat. Once the butter has melted and is shimmering, add the minced onion along with ¾ teaspoon of salt. Cook, stirring frequently, until the onion has softened and become translucent but not browned, which should take approximately 4 to 7 minutes. Add the minced garlic and stir until it becomes fragrant, about 30 seconds. Next, add the Arborio rice to the pot and cook, stirring frequently, until the edges of the rice grains appear translucent, typically around 3 minutes. This toasting step is crucial for texture.
-
3. Pour in the white wine and cook, stirring constantly, until all the wine has been fully absorbed by the rice, usually taking 2 to 3 minutes. Then, stir 5 cups of the hot broth mixture into the rice. Reduce the heat to medium-low, cover the Dutch oven, and let it simmer until almost all the liquid has been absorbed and the rice is just al dente. This “almost hands-free” phase will take approximately 16 to 19 minutes. During this time, remember to stir the risotto thoroughly twice to prevent sticking and ensure even cooking.
-
4. Once the rice is al dente, add the remaining ¾ cup of hot broth mixture. Stir gently and constantly until the risotto transforms into a beautifully creamy consistency, which should take about 3 minutes. Remove the pot from the heat and stir in the grated Parmesan cheese. Cover the pot and let it stand for 5 minutes. Finally, stir in the remaining 2 tablespoons of butter, the fresh lemon juice, the chopped parsley (or Italian herbs), and the fresh chives. Season with additional salt and pepper to taste. If you prefer a looser texture for your risotto, you may add up to ½ cup of any remaining hot broth mixture. Serve immediately for the best experience.
