Mastering Sous Vide Air Removal: Essential Methods for Perfect Cooking and Food Safety
Welcome to the ultimate guide for perfecting your sous vide cooking! If you’re new to the world of precision cooking or simply looking to refine your technique, understanding proper air removal is absolutely critical. This isn’t just about preventing your food from floating; it’s about ensuring every single meal you prepare is cooked evenly, safely, and to perfection.
Curious about sous vide but not sure where to start? Begin your journey here to learn all about the essential equipment and fundamental principles you’ll need to get started with this revolutionary cooking method. For those ready to dive deeper into amazing sous vide recipes and expert tips, be sure to grab a copy of my cookbooks, Everyday Sous Vide: It’s All French to Me and Sous Vide Meal Prep. They’re packed with valuable insights just like this one!
Today, we’re diving deep into the technicalities of achieving optimal results with sous vide by exploring the various methods for removing air from your cooking bags. Sous vide cooking, at its core, involves placing food into a jar or, more commonly, a bag, and then submerging this vessel into a precisely temperature-controlled water bath. This precision is maintained thanks to an immersion circulator, which heats and circulates the water.
While jars can be used for certain applications, most sous vide recipes utilize bags. The success of your sous vide cook hinges significantly on how effectively you remove air from these bags before they enter the water bath. Why is this so important? Any air trapped in the bag can cause it to float. A floating bag means the food inside is not entirely surrounded by the precisely heated water, leading to uneven cooking. Even worse, parts of the food exposed to cooler air could fall into the “danger zone” for bacterial growth, compromising food safety. By removing as much air as possible, you ensure consistent heat transfer, even cooking from edge to edge, and peace of mind regarding safety. Let’s explore the most effective sous vide air removal methods.
Why Proper Air Removal is Essential for Sous Vide Success
Before we delve into the how-to, let’s truly understand the profound impact of air pockets in sous vide cooking bags. It might seem like a minor detail, but neglecting proper air removal can undermine the very benefits sous vide is designed to deliver.
- Ensures Even Cooking: The fundamental principle of sous vide is precise, even temperature control. Air is an insulator, and even a small pocket of air between the water bath and your food can create a thermal barrier. This results in unevenly cooked spots, where one part of your steak might be perfectly medium-rare, while another is slightly undercooked.
- Guarantees Food Safety: This is arguably the most critical reason. If a bag floats due to trapped air, portions of your food may rise above the water line or be surrounded by insufficient water volume. These exposed areas won’t reach the target temperature, potentially leaving them in the “danger zone” (between 40°F and 140°F or 4°C and 60°C) where harmful bacteria can multiply rapidly. Proper submersion ensures every part of the food is held at the safe, precise temperature you’ve set.
- Maximizes Heat Transfer Efficiency: Water conducts heat much more efficiently than air. When your food bag is completely submerged and free of air, there’s direct contact between the heated water and the food. This allows for optimal heat transfer, ensuring your food cooks accurately and within the expected timeframe.
- Prevents Unwanted Buoyancy: Beyond uneven cooking, a floating bag can simply be an annoyance. It requires constant monitoring and often necessitates weighting the bag down, adding an extra step to your cooking process. Effective air removal solves this problem from the outset, allowing for a truly hands-off cooking experience.
- Enhances Texture and Flavor: While less direct, even cooking contributes to better texture and flavor. Consistent temperature throughout the food helps break down connective tissues uniformly and ensures flavors develop as intended, without the variability caused by hot or cold spots.
In essence, thorough air removal is not just a best practice; it’s a cornerstone of successful sous vide cooking, impacting everything from the safety of your meal to its culinary quality.
The Methods for Sous Vide Air Removal
1. The “Arm” Method: Simple Pressure for Soupy Creations
The “arm” method, while perhaps not the most robust, is a fantastic entry-level technique for removing air from zipper-top bags, especially when dealing with “soupier” or more liquid-heavy foods like meat marinating in a sauce. The liquid itself helps in displacing air, making this method surprisingly effective for specific applications. I didn’t even include this in my cookbooks, not because it’s bad, but because the water displacement method often works better for similar scenarios. However, it’s worth knowing for its simplicity.
How to Execute the Arm Method:
- Prepare Your Bag: Place your food into a high-quality, freezer-grade zipper-top bag. Ensure the food is pushed down to the bottom of the bag, spread as flat and evenly as possible from edge to edge.
- Partial Seal: Zip the bag almost entirely closed, leaving a small opening (about an inch or two) at one corner or along the top edge.
- Apply Pressure: Lay the bag flat on a clean countertop. Position one of your forearms firmly above the food, pressing down gently to occupy the space above the food. This creates a barrier.
- Expel Air: With your other hand, start at the arm you’re using as a barrier and firmly slide it towards the open end of the bag. This action will push the trapped air out through the small opening. You can also use the edge of your countertop instead of your arm for leverage, pressing the bag against it.
- Final Seal: Once most of the air has been expelled, quickly slide your fingers to seal the remaining opening.
Best Use Cases and Considerations:
- Ideal For: Foods in marinades, stews, or anything with a significant amount of liquid that helps to fill the bag and displace air.
- Benefits: Extremely simple, requires no special equipment, and is quick for everyday use.
- Limitations: Not as effective for solid, irregularly shaped foods without liquid. It may not achieve a perfect vacuum, and small air pockets can sometimes remain.
- Tip: Ensure you use a sturdy, freezer-grade bag to prevent leaks when applying pressure.
Here’s a video demonstrating this straightforward technique:
2. The Water Displacement Method: The Cost-Effective Champion
Often considered the gold standard for air removal without a vacuum sealer, the water displacement method (also known as the Archimedes Principle method) is incredibly effective, shockingly simple, and completely free. It leverages the pressure of water to push air out of your bag, making it perfect for delicate foods that might be damaged by aggressive vacuum sealing, or any food packaged in a marinade.
How to Perform Water Displacement:
- Prepare Your Setup: Place your food into a freezer-grade zipper-top bag. For optimal results, lay the food flat and spread out within the bag.
- Fill a Container: Fill a large pot, bucket, or even your sous vide water bath (before you start heating it!) with water. The container should be deep enough to submerge most of your bag.
- Partial Seal: Zip the bag almost all the way closed, leaving a small gap (about an inch) at one corner or across the top.
- Submerge Gradually: Carefully lower the bottom of the bag into the water, ensuring the unsealed zipper portion remains above the water line. As the bag submerges, the water pressure will naturally push the air upwards and out through the small opening you left.
- Expel Remaining Air and Seal: Continue to submerge the bag until just the unsealed zipper section is above the water. Gently press any remaining air towards the opening, then quickly and completely seal the zipper. You should see the bag tightly conforming to the food.
Advantages and Tips for Water Displacement:
- Versatility: Excellent for almost any type of food, including liquids and delicate items like fish fillets or soft vegetables that could be compressed by a vacuum sealer.
- Cost-Effective: Requires no specialized equipment beyond standard zipper bags.
- Highly Effective: Can achieve a near-perfect vacuum seal, comparable to electric vacuum sealers for many applications.
- Pro Tip: Use a tall container to make the submersion process easier. For foods with liquid, tilt the bag slightly to help the liquid settle at the bottom and aid in air displacement.
See the water displacement method in action:
3. Reusable Vacuum Seal Bags: The Eco-Friendly Option

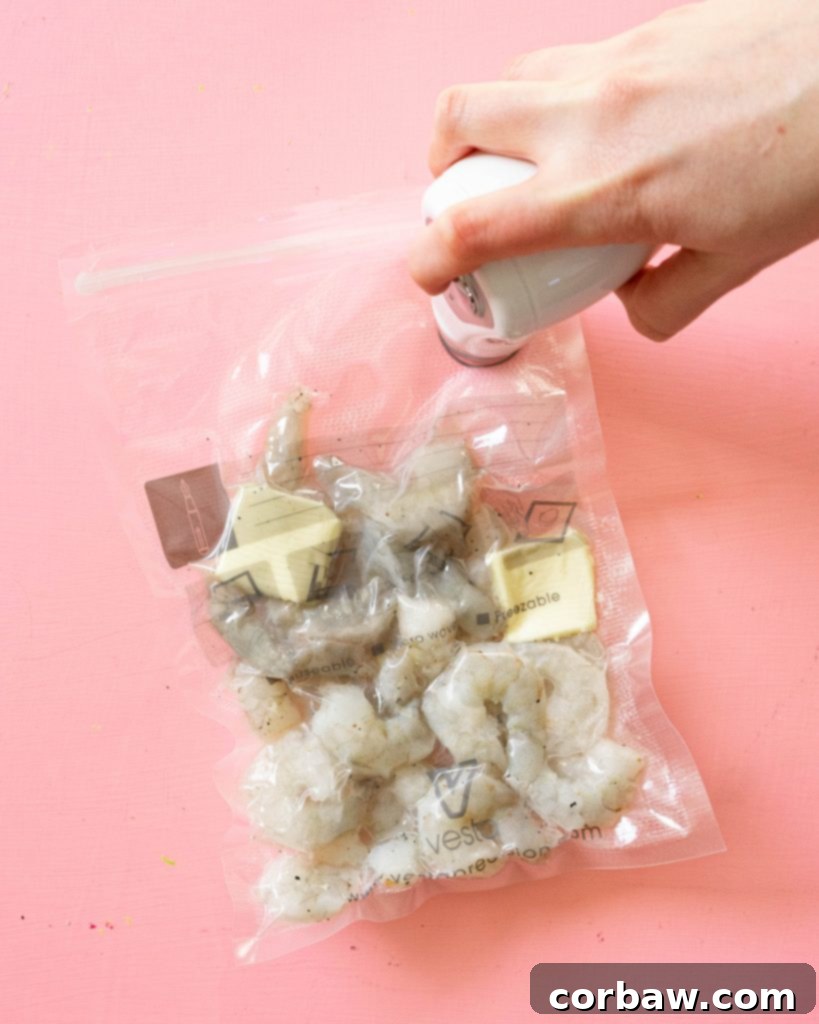
For those seeking a more environmentally conscious approach or a middle ground between manual methods and expensive electric vacuum sealers, reusable vacuum seal bags are an excellent choice. These bags are specifically designed for sous vide cooking and come with a small, manual hand pump to extract air. They offer a good balance of effectiveness, affordability, and sustainability.
Using Reusable Vacuum Seal Bags:
- Bag Your Food: Place your food inside the reusable bag and zip it completely shut. Ensure the food is positioned so it doesn’t obstruct the air valve.
- Attach Hand Pump: Locate the air valve on the bag (usually a circular patch). Place the nozzle of the accompanying hand pump directly over this valve, creating a tight seal.
- Pump Out Air: Begin pumping the handle to suction the air out of the bag. You’ll see the bag slowly collapse and conform to the shape of your food. Continue pumping until most of the air is removed and the bag feels firm around the contents.
- Remove Pump: Once sealed, carefully remove the hand pump. The valve is designed to hold the vacuum.
Pros and Cons of Reusable Bags:
- Advantages:
- Eco-Friendly: Their reusability significantly reduces plastic waste compared to single-use vacuum sealer bags.
- Affordable: Generally less expensive upfront than an electric vacuum sealer.
- Convenient: Easy to use and store, requiring minimal counter space.
- Designed for Sous Vide: Made from durable, food-safe materials suitable for high temperatures.
- Disadvantages:
- Cleaning Effort: The primary downside is cleaning. They require thorough washing, often by turning them inside out, rinsing, running them through a dishwasher (if safe for the material), and then air-drying completely to prevent mold or odors.
- Less Powerful Vacuum: While good, the hand pump typically doesn’t achieve as strong or consistent a vacuum as an electric sealer.
- Durability: Over time, the valve or seal can wear out, though good quality bags last many uses.
Watch how simple it is to use these reusable bags:
4. Electric Vacuum Sealer: The Professional’s Choice for Ultimate Reliability

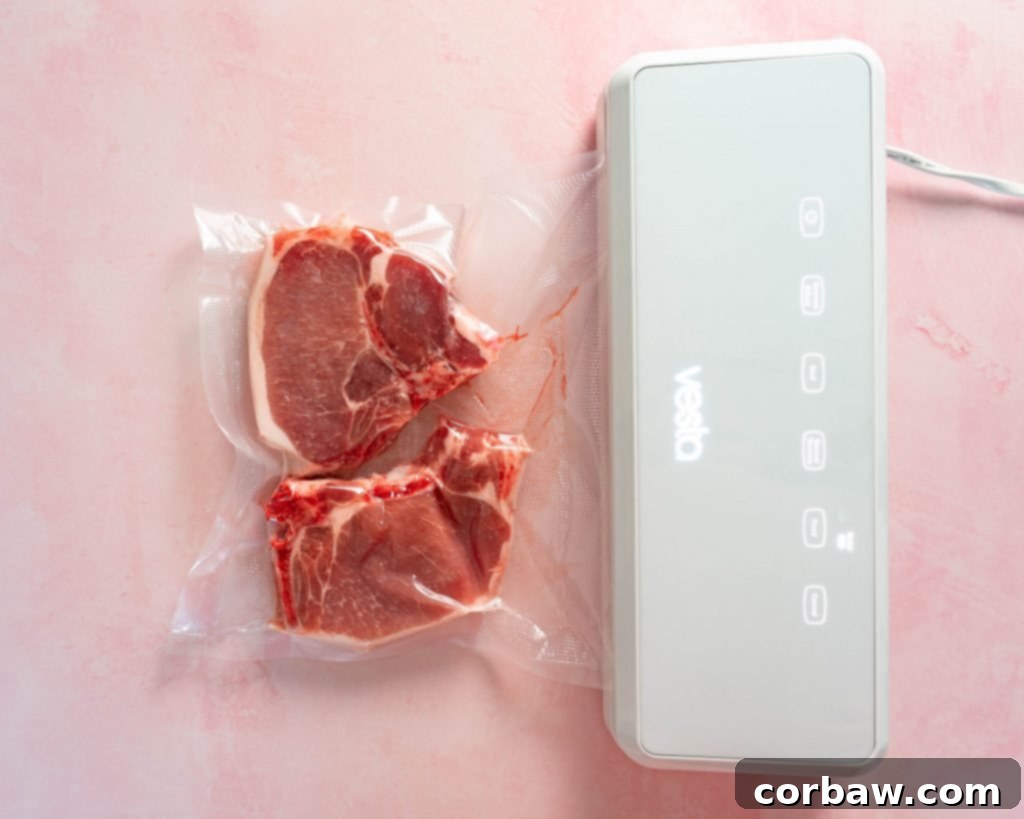
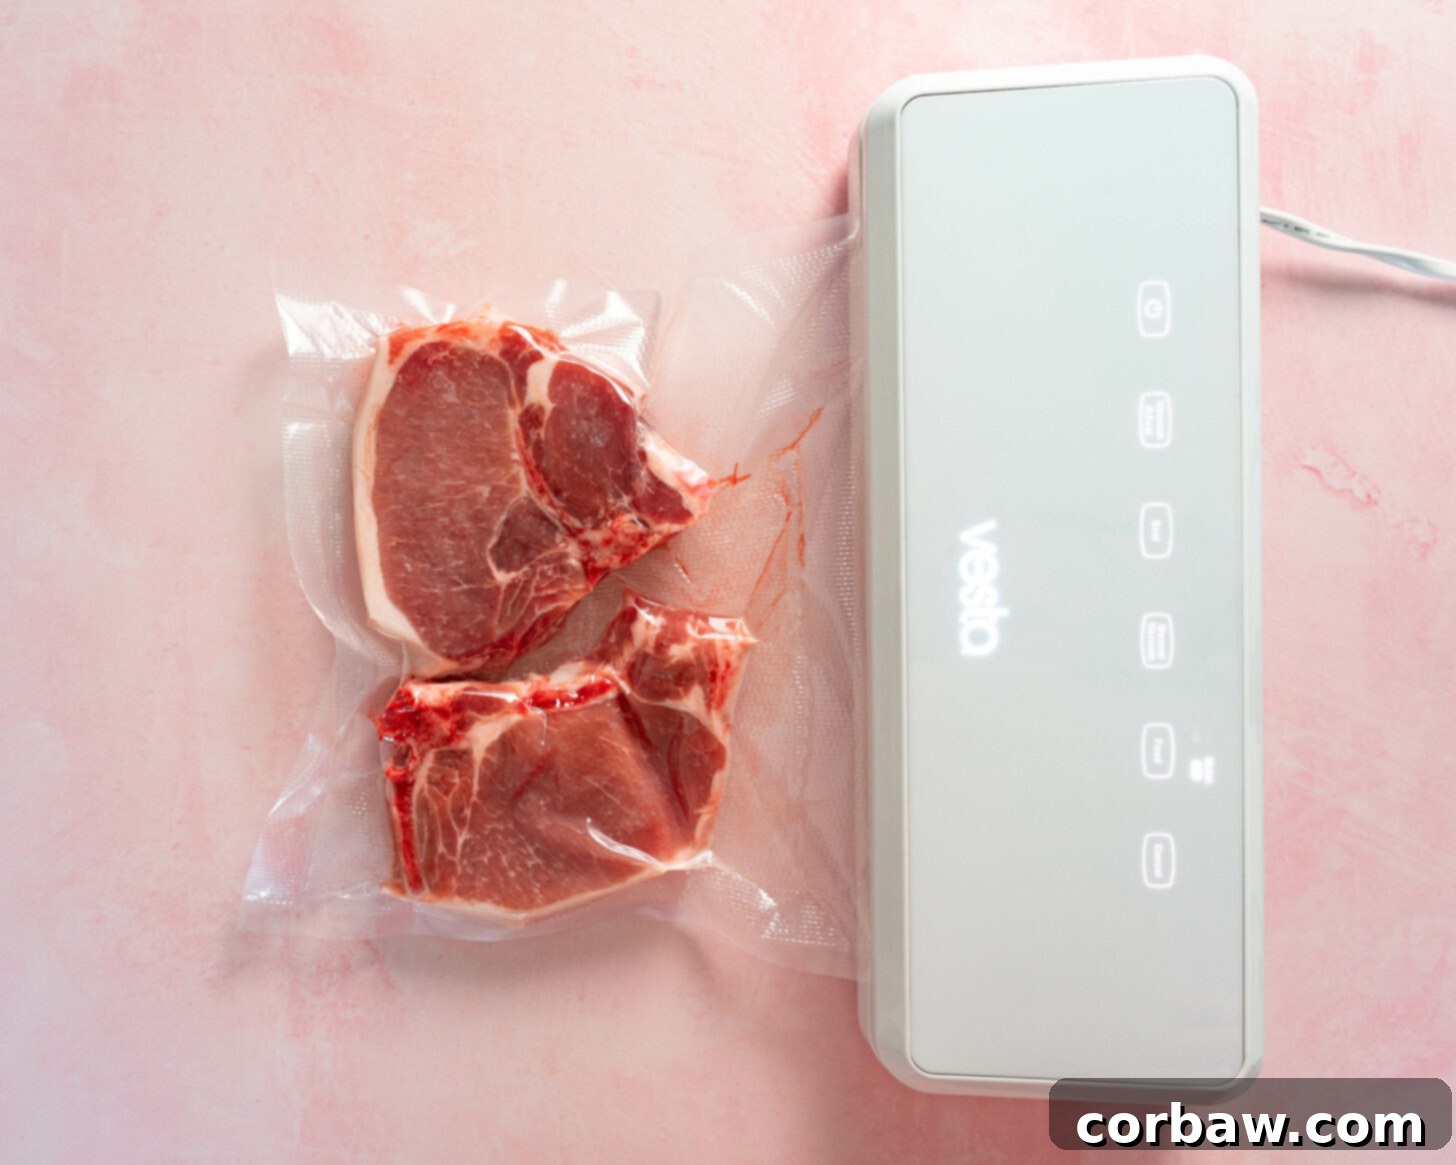
For the most consistent, reliable, and hands-off air removal, an electric vacuum sealer is the undisputed champion. While it represents a larger initial investment, its efficiency and the confidence it provides make it invaluable for frequent sous vide cooks, meal preppers, and anyone prioritizing ultimate food safety and convenience.
I’ve personally used the cheapest model of Foodsaver sealers for years, and it has served me exceptionally well, proving that you don’t need the most expensive unit to get excellent results. You can often find reliable models for around $60.
Operating an Electric Vacuum Sealer:
- Prepare Food in Bag: Place your food into a specialized vacuum sealer bag. Ensure the open end of the bag is clean and dry for a perfect seal. Leave enough space (usually 3-4 inches) at the top for the sealing process.
- Position in Sealer: Place the open end of the bag into the vacuum sealer’s drip tray or sealing channel, according to your model’s instructions.
- Close and Activate: Close the lid of the vacuum sealer. The machine will typically automatically detect the bag, remove all the air, and then create a strong, airtight heat seal. Some models offer a “pulse” function, allowing you to manually control the vacuum for delicate items.
- Ready for Cooking: Once sealed, your food is perfectly prepared for the water bath.
Unbeatable Benefits of Electric Vacuum Sealing:
- Superior Air Removal: Achieves the strongest, most consistent vacuum seal, virtually eliminating all air pockets.
- Unquestionable Seal Integrity: The heat seal created by these machines is incredibly robust, minimizing any risk of leaks during long cooking times.
- Effortless Operation: Largely automated, requiring minimal effort once the food is in the bag.
- Versatile for Meal Prep: Allows you to season food, vacuum seal it, and then store it in the freezer. When you’re ready to cook, you can often place the frozen, vacuum-sealed bag directly into a sous vide water bath (just remember to adjust cooking times accordingly). This makes meal planning incredibly efficient.
- No Bag Cleaning: Since the bags are typically single-use, there’s no tedious cleaning process afterward.
- Enhanced Food Preservation: Beyond sous vide, a vacuum sealer is excellent for extending the shelf life of fresh and frozen foods.
Here’s a quick demonstration of how a vacuum sealer works:
Choosing the Right Sous Vide Air Removal Method for You
With several effective methods at your disposal, how do you decide which one is best? The answer often depends on your cooking frequency, budget, and the types of food you typically prepare.
- For the Beginner or Occasional Cook: The Water Displacement Method is highly recommended. It’s free, remarkably effective, and teaches you the fundamental importance of air removal without any equipment investment. The “Arm” method is also good for very casual, quick cooks with liquid-heavy foods.
- For the Eco-Conscious or Mid-Range User: Reusable Vacuum Seal Bags strike a fantastic balance. They offer better air removal than manual methods with a small hand pump, reduce waste, and are more affordable than electric sealers. Be prepared for the cleaning routine, though!
- For the Enthusiast, Meal Prepper, or Professional: An Electric Vacuum Sealer is the ultimate choice. Its reliability, powerful vacuum, and speed make it indispensable for frequent cooking, large batches, and long-term food preservation. The investment pays off in convenience, consistency, and unparalleled food safety.
General Tips for Sous Vide Bag Handling and Success
Regardless of the air removal method you choose, a few general best practices can significantly enhance your sous vide experience:
- Use Food-Grade Bags: Always ensure your bags (whether zipper-top or vacuum sealer specific) are food-safe and capable of withstanding the temperatures of your water bath. Look for BPA-free options.
- Prevent Punctures: Sharp bones, stems, or even rigid spices can puncture your bag. If cooking items with sharp edges, wrap them in a small piece of parchment paper or foil before placing them in the bag, or double-bag them for extra protection.
- Ensure Clean Seal Area: For any method involving sealing (especially electric vacuum sealers), ensure the area where the seal will form is completely clean and dry. Moisture, crumbs, or grease can compromise the seal.
- Don’t Overfill: Leave adequate space at the top of the bag for sealing, and avoid stuffing the bag too tightly, which can hinder proper air removal and heat transfer.
- Monitor During Cooking: While proper air removal should prevent floating, it’s always a good idea to periodically check your water bath. If a bag unexpectedly floats, reposition it or use weights designed for sous vide to keep it submerged.
- Consider Double Bagging: For very long cooks (over 12 hours) or for delicate items where a leak would be disastrous, consider placing your sealed bag inside another one.
Conclusion: Embrace the Vacuum for Superior Sous Vide
As you can see, mastering sous vide air removal is a cornerstone of achieving consistently perfect results. Whether you opt for the simple water displacement method, the eco-friendly reusable bags, or the robust electric vacuum sealer, each technique plays a vital role in ensuring even cooking, optimal heat transfer, and, most importantly, food safety. Experiment with different methods to find what works best for your cooking style and needs.
By taking the time to properly remove air, you’re not just preventing a bag from floating; you’re actively contributing to a more delicious, safer, and ultimately more rewarding sous vide cooking experience. Happy viding!
